What You Actually Need (And What Can Wait)
by David “clean” Berryman, 2nd AC
Every 2nd AC eventually has to answer the same question: what do I actually need in my kit?
Ask ten working 2nd AC’s and you’ll get eleven different answers. Everyone’s got strong opinions, everyone’s got their one indispensable thing, and everyone’s got a story about the one time they didn’t have it and paid for it.
This isn’t a definitive list. There’s no such thing. But after years of working on set and building the accessories that show up on professional camera carts across the country, here’s how I’d break it down, what’s essential on day one, what you should add as your career builds, and what’s genuinely optional.
Tier 1: Day One Essentials
Tool Belt & Pouch
These are the things you need before you take your first job as a 2nd AC. Not nice-to-haves. Non-negotiable.
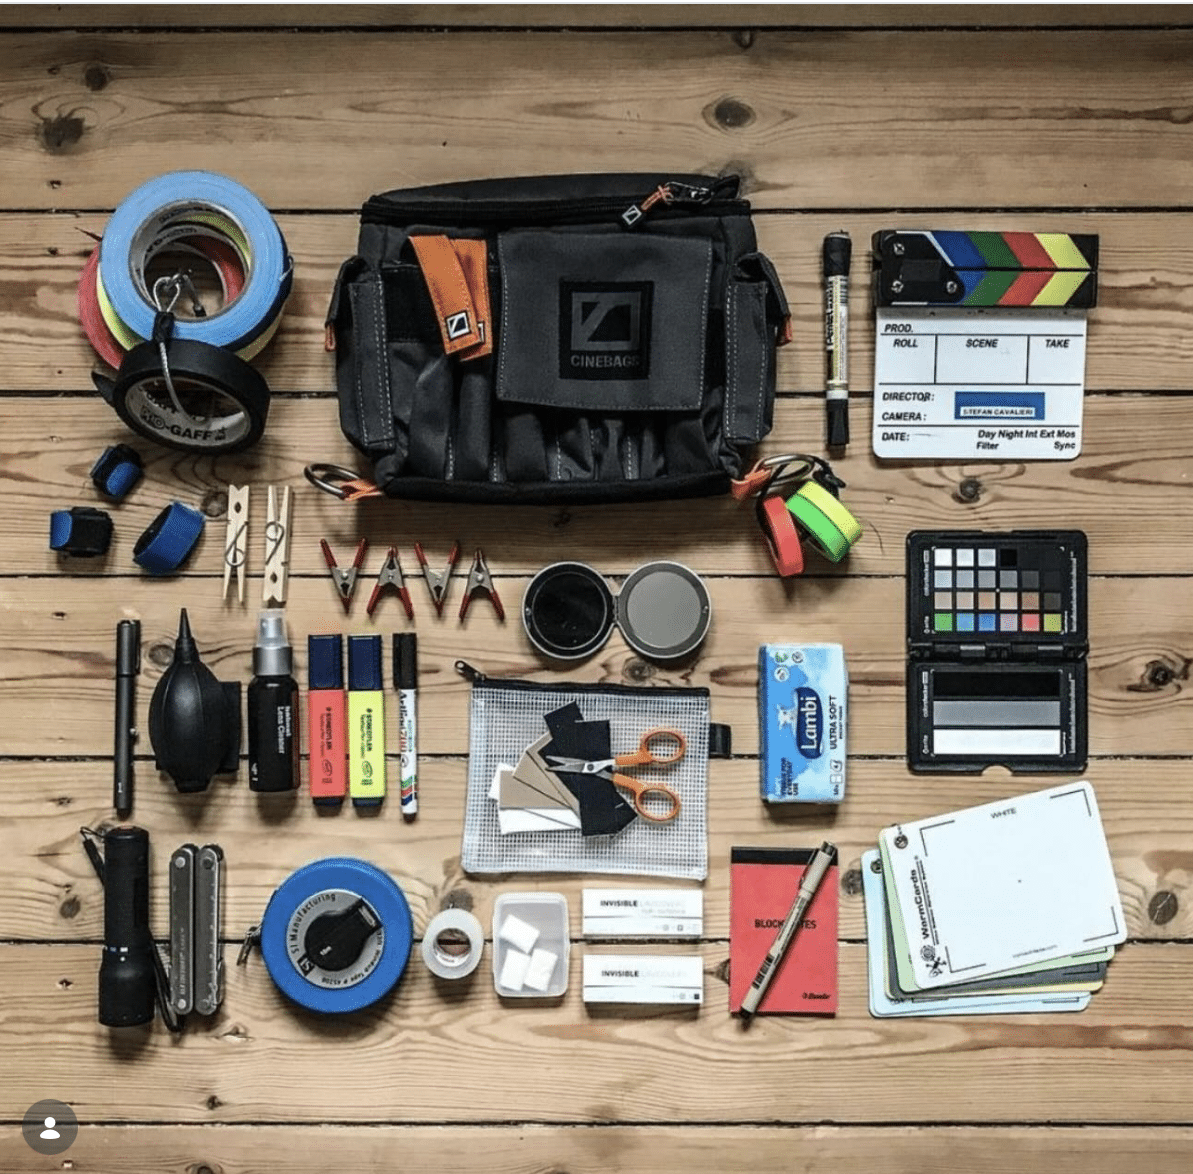
Before ya do anything else, get a belt & a pouch. Or a chest rig. I like to fancy myself a cowboy gunslinger 2nd AC so i like to have my tools at my fingertips. The chest rig is nice if you don’t want all that weight on your hips. I prefer a “duty belt” (think cop or military) but 1.5″ so it can still go through my belt loops. Here’s one by Wolf Tactical for example, not an endorsement. My belt & pouch is about 5lbs & I can assure you I have spent my entire career trying to figure out what I could drop & what i had to keep on me. Below is the list of what I keep on me:
- 2″ Photoblack Paper tape
- 1″ White Cloth tape on small core
- 1″ Flourescent Paper tape on small core
- Dry Erase Marker (expo or marksalot angle tip) w a Kleen Slate cap
- Ink pen & a backup (b/c 2 is 1 & 1 is none)
- Black Twin Tip Sharpie
- Red Twin Tip Sharpie
- Lumocolor Non-permanent Pen (gotta suck up to your first when their’s dries up)
- Stabillo wipe off pencil (still sucking up to your first). Be sure to get Perfect Pencil holder. Has a built in sharpener!
- Pocket screwdriver
- Mini screwdriver
- Non-stick Scissors
- Memo Pad
- Welder’s Chalk (no dust!)
- Flashlight. I like the streamlight stylus pro (they also have a rechargeable one) with the bite guard
- Switchblade why? watch this: How to Dot a T Mark
AKS Case or Bag?
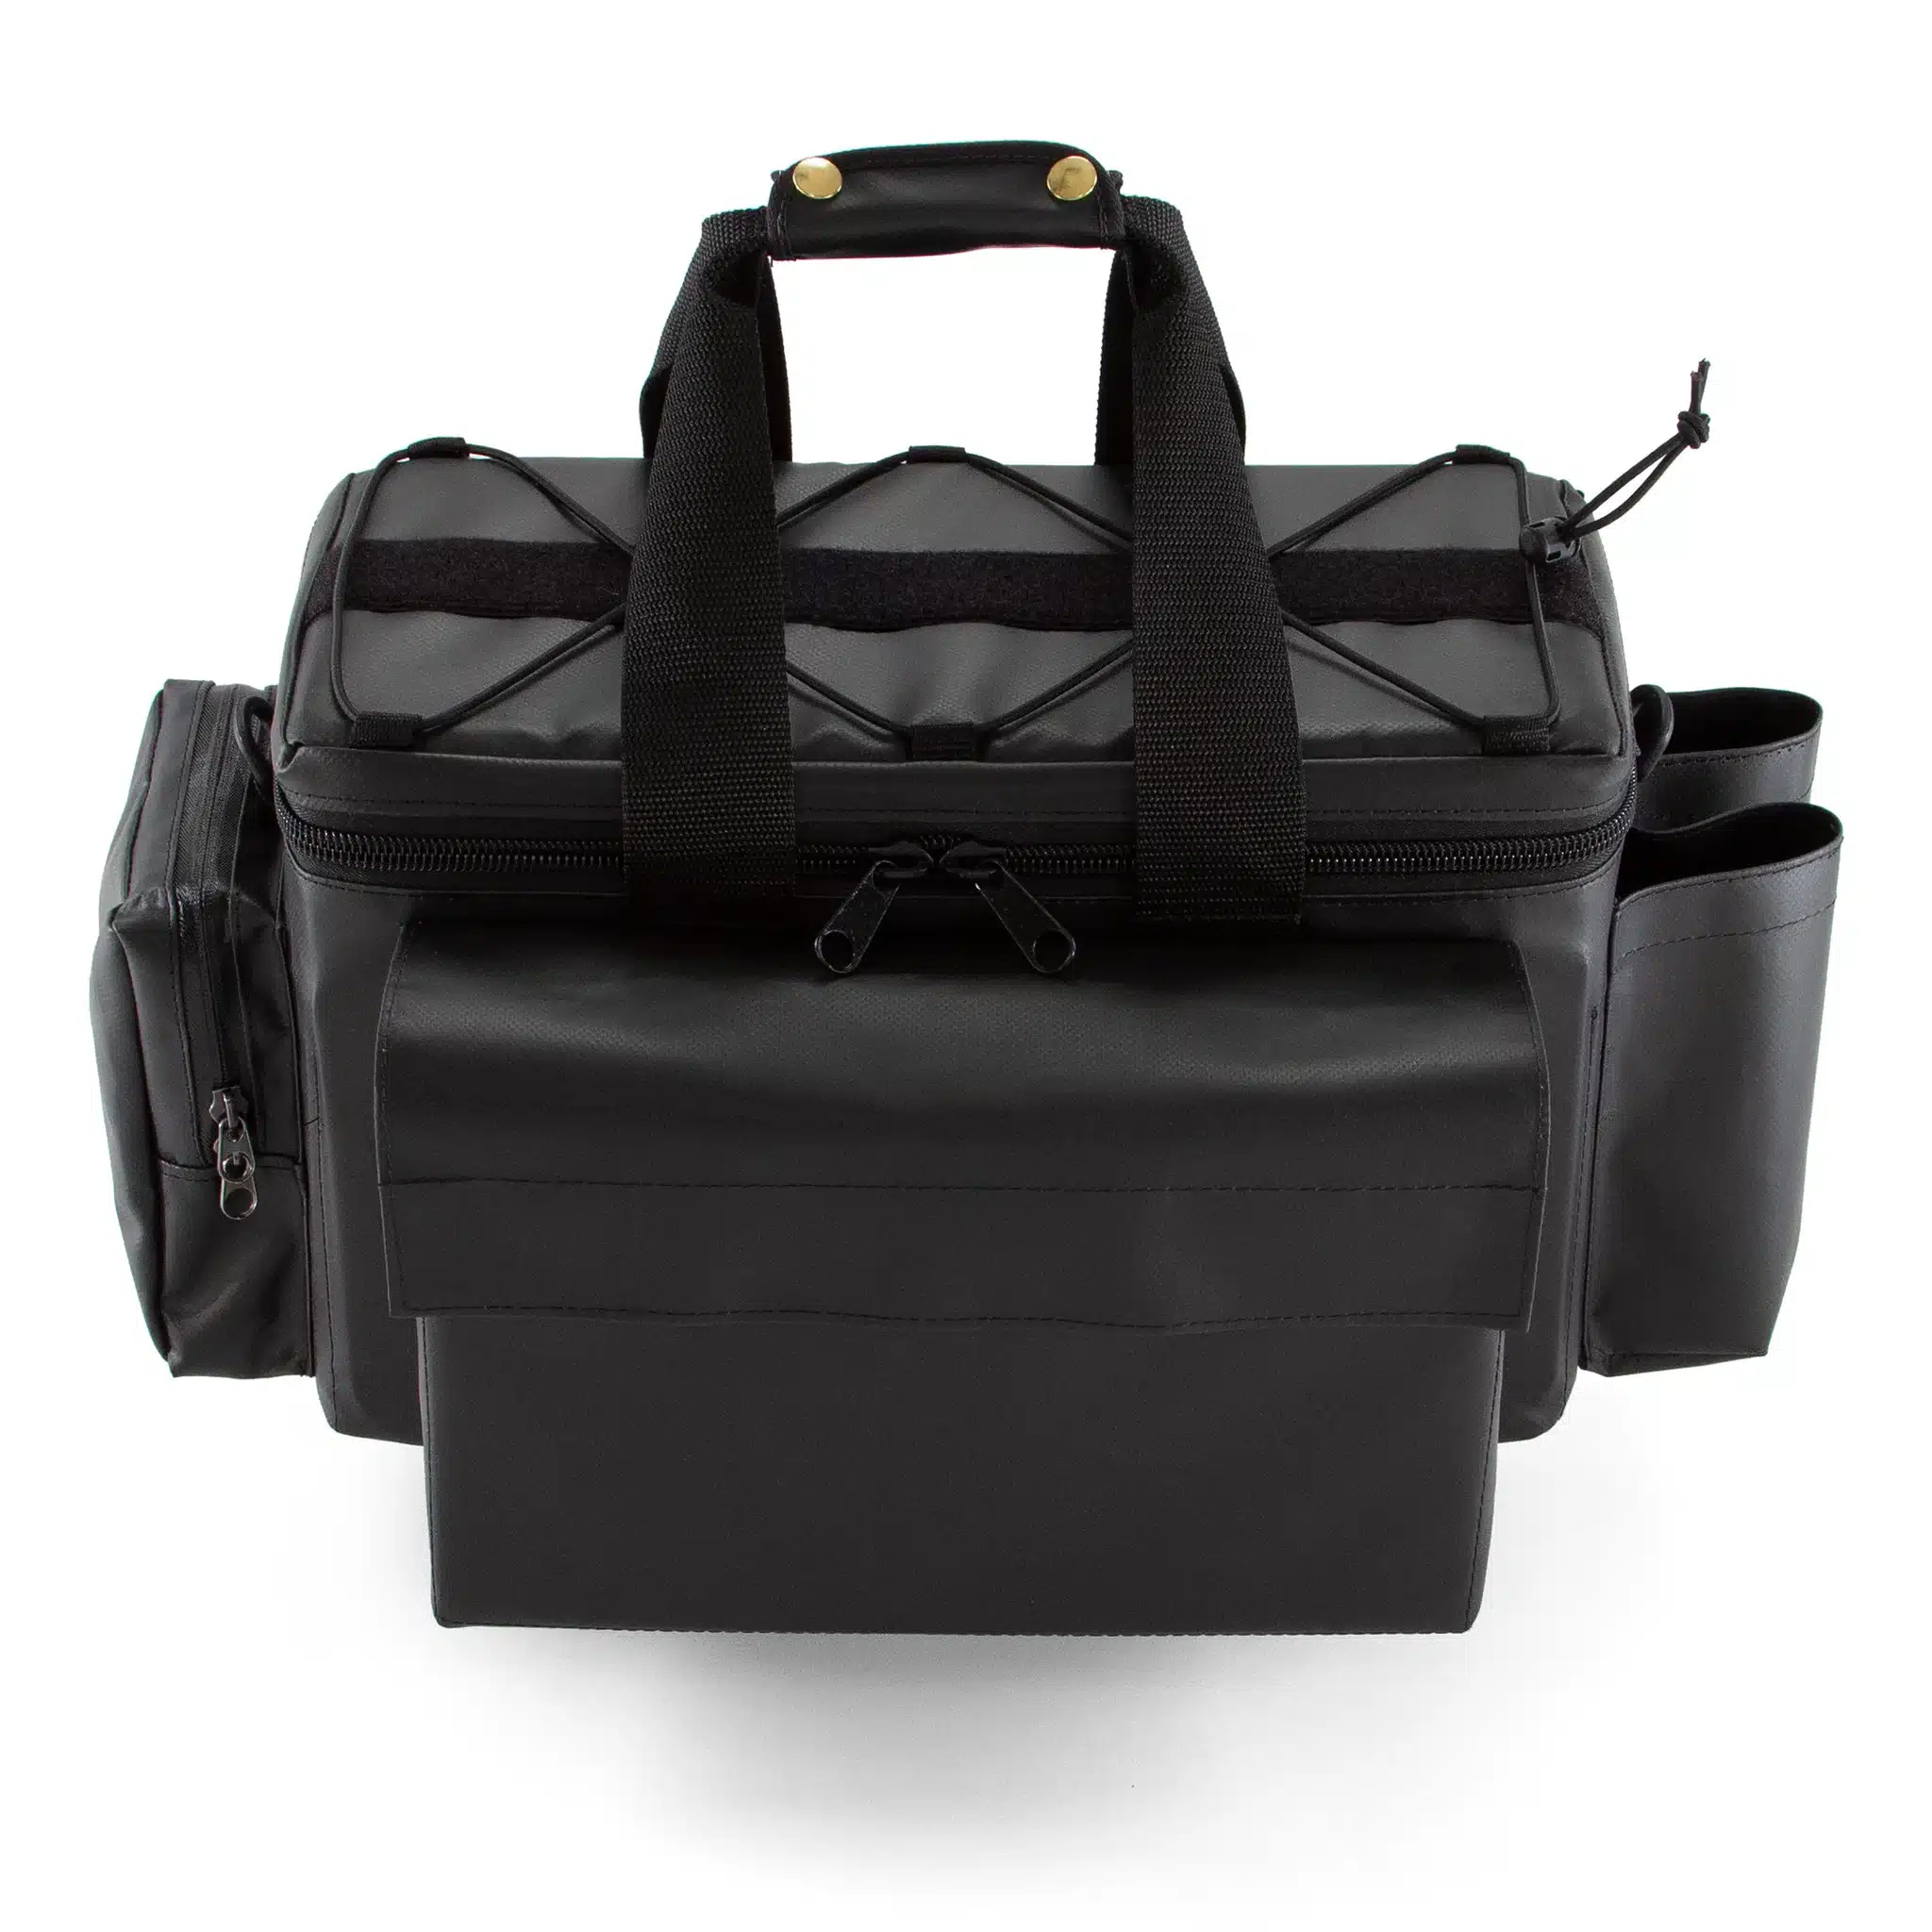
Here’s where it gets personal. I’ve been using set bags my whole life & that’s my preference. We’ve come a long way since the “Larry Bag” by Portabrace. That thing was a bottomless pit. My preference is something like the GoOnSetBag which is purpose built for 2nd AC’s. In my opinion you have to have a pocket for the slate.
My latest preference is the S3 range cart (b/c i can sit on it) with a custom bag by Fikenca. They do great work but don’t expect to get your order for months or even years. I’ve ordered from them at the beginning of 1 season of a show & not gotten it until the next season & that was after countless calls & emails. I don’t know why I keep using them. Probably b/c i don’t know anybody else who makes custom bags.
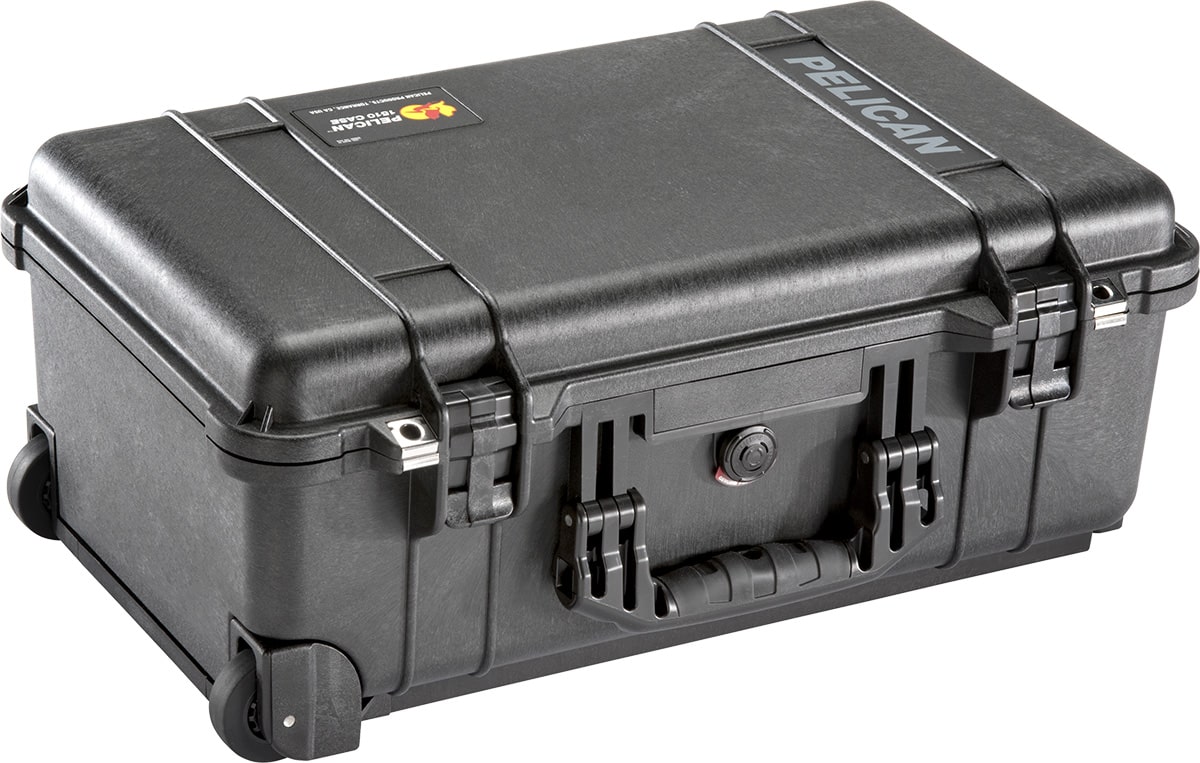
The other option is a case. The most popular is the Pelican 1510. Some 2nd AC’s velcro a slate pouch from English Stix or Burke Bags on the outside. The case is great if you live/work anywhere besides Los Angeles where its sunny & dry almost every day of the year. Location work can be dusty or rainy so a waterproof case might be better for you there.
Basic Hand Tools
These can stay in your AKS Bag/Case. No need to carry more weight.
List below but first: DO NOT BUY a Multitool. You are better off buying just a couple purpose built tools. They’ll work better & last forever.
- Set of Allen keys in both metric and imperial
- Full size multi-bit screwdriver
- AC Drivers for those big channel screws on touch & goes
- Small assortment of 1/4″ & 3/8″ nuts & bolts
- Metal ruler (for arts & crafts)
- Folding utility knife with replacement blades
- Pliers with teeth
- Pliers without teeth
- Various colors of cloth tape on a loop of webbing
- Various colors of paper tape on a loop of webbing
- Various colors of electrical tape on a rope
- Expendables kit: rubber bands, small bungees, zip ties, velcro strips
A Camera Cart
This is the big one. If you’re doing any kind of narrative or episodic work, you need a cart. Period.
A Magliner Senior may seem like a good starter cart: it folds flat, fits in most vehicles, handles serious weight. Buy one used if budget is tight. A clean used Mag is better than nothing but not by much. They are notoriously rickety and a kitted out new Magliner Senior is still over $2,000. For that price you can get a YaegerFlex which is a better cart in my opinion & will last you years beyond out growing your Magliner.
If you’re buying new and want something purpose-built for 2nd AC work, the YaegerPro for a little more than the Flex is worth a look. They come with built-in organization that a stock Magliner doesn’t have. There is also the Yaeger Case Cart starting @ $2,500. I’ve been using one for 25 yrs. I also have a Backstage Cart which I use for lenses. The Backstage cart starts @ $3,000. This cart is a little more versatile b/c you can adjust the shelf heights & add a shelf. Start with any one of these & you’ll use it for the rest of your career.
For any of the above carts, be prepared to spend another $1,500 for Mitchell mounts, stick holders, hi/low hat rails, etc. Pro tip: spring for the double header Mitchell mount. Keep your heads off the top shelf so you have room to build.
If you can’t afford a cart yet, see if you can borrow from a friend. There’s plenty sitting around the rental houses with 2nd AC’s name & number on them. Give the person a call & see if they’ll let you rent it for a couple days.
Tier 2: Add These As Your Career Builds
Quick Release System
Once you have a cart, the single most important thing on it is your quick release base (QRB). This is how the camera docks to your cart, and if it’s not right, every interaction with the camera dock is slower and more stressful than it needs to be.
The industry standard is the Ronford Baker-style quick release base. Our Clean’s QRB is machined from 6061-T6 aluminum in the USA, compatible with O’Connor 120mm euro plates, Sachtler 35 camera plates, and the Arri BP9 bridge plate. It’s the one I’d recommend to anyone starting out, reliable, well-priced for the quality, and it’ll still be on your cart in 20 years.
Pair it with a Touch and Go Plate, that’s the plate that travels with the camera while the QRB base stays on the cart. Together they’re the fastest camera dock system in the business.
Spinner Plate
This goes right underneath your QRB and lets you rotate the camera 360° on the cart. You need it the first time you try to access a lens mount on the wrong side of a docked camera with a full crew watching.
Our Spinner Plate integrates directly with the QRB system and stacks cleanly, no wobble, no play. 54 five-star reviews from working ACs who use it daily.
Cart Hooks
Your stand attaches to the cart via cart hooks for either Yaeger or Backstage. Make sure you have the right style for your stand.
You don’t need these on day one, but you’ll want them within your first year of serious 2nd AC work.
Riser
If you’re working with large camera packages, ALEXA 35, Venice 2, big lenses, matte boxes, a riser on your cart dock gives you the clearance to mount without the camera overhanging or hitting the shelf below. Our Riser is machined to integrate directly with the QRB system.
Mitchell Plate Adapter
Certain heads, particularly older Mitchell-mount fluid heads, require a Mitchell plate adapter to work with modern quick release systems. If you’re working on shows that use vintage or specialty heads, you’ll eventually need one. Our Mitchell Plate Adapter is machined to fit the QRB system directly.
Mini-QRB
If you’re running multiple camera setups or want a dedicated quick release for a smaller B-camera package, the Mini-QRBgives you the same reliability as the full-size version in a smaller footprint.
Tier 3: Nice to Have, Not Required
Lens Cart
Once you’re regularly handling large lens packages, a dedicated lens cart becomes essential. You’ll know when you need it.
Cart Motor
When you can afford it, get the motorized wheels & hand brake kit from Make Your Cart Go. This is pretty expensive & can cost more than your cart so you might have to wait while you get more years under your belt. There’s not a day that goes by that I’m not happy I bought one for each of my carts.
These come up constantly in AC forums and gear threads. Worth knowing about, but don’t let anyone pressure you into buying them before you’re ready. Unless its something you need to do your job, you’re probably not gonna make much money off renting them. Discounts are over 80% these days. A $30,000 kit is going to take you years to pay off. Only buy it if it helps your career b/c you’re definitely not gonna be getting rich in the rental game anymore. These also tend to fall under the pervue of the 1st AC so as a 2nd AC you probably don’t wanna get involved here unless you & your first have a deal worked out.
Wireless video transmitter (Teradek, etc.):
Useful if you’re doing a lot of handheld or Steadicam work where the director needs a clean feed. Often provided by production on bigger shows, rent it until you’re booking enough work to justify owning it.
High-end monitor (SmallHD Cine 7, etc.):
More resolution and color accuracy are always better. Upgrade your monitor as your rate increases and you’re working on shows where it matters.
Steadicam accessories:
If you’re crossing over into operating, this is its own rabbit hole. Start with the Steadicam categoryand work from there.
Color-anodized gear:
Okay, this one isn’t strictly a performance consideration, but there’s something to be said for a cart that looks like you take your job seriously. Our QRBs, Spinner Plates, and Touch and Go Plates come in 8 anodized colors. Just saying.
The Honest Answer on Budget
People ask all the time: “how much does it cost to build out a 2nd AC kit?”
Here’s a realistic breakdown for a solid working setup:
| Item | Estimated Cost |
|---|---|
| Belt + Pouch or Chestrig with contents | $175 – $250 |
| Set bag or case | $275 – $400 |
| Hand tools + expendables | $200 – $300 |
| Camera cart (Magliner Senior – Backstage) | $2,000 – $4,500 |
| Total to get started seriously | ~$2,650 – $5,450 |
That’s real money. Build it over time if you have to, the cart and QRB system first, monitor next, wireless system last (or rent until you can own). The camera gear you need day-to-day is almost always on the truck. Your job is to have the infrastructure to handle it.
The One Thing I’d Tell My Younger Self
Buy quality once instead of cheap twice. The gear you buy when you’re starting out, if you buy it right, is the same gear you’ll still be using a decade into your career.
Everything we make at Clean’s Camera Support is machined from 6061-T6 aluminum in the USA 🇺🇸. It’s not cheap compared to import alternatives, but it’s also not going to strip, fail, or embarrass you on set. We’ve got working ACs who have been using the same QRB for 10+ years. That’s the point.
If you’ve got questions about what fits your specific setup, reach out. We’re camera people. We’ll give you a straight answer.
David “Clean” Berryman is a Texas-based 2nd AC with credits across film and television. He founded Clean’s Camera Support to make professional-grade, USA-machined camera accessories available at a price that doesn’t make a camera assistant cry.
2nd AC 2nd AC 2nd AC 2nd AC 2nd AC 2nd AC 2nd AC 2nd AC 2nd AC 2nd AC 2nd AC 2nd AC 2nd AC 2nd AC 2nd AC2nd AC 2nd AC 2nd AC